The guitar is an extraordinary instrument that I am in love with. I admire the sound it provides, especially when played by some special artists. However, there are some basic rules that every musician should follow when playing guitar.
Every instrument requires some maintenance, and the guitar is one of them as well. There is nothing more frustrating than while playing guitar dealing with some issues, such as fret sprouts. I am sure that all of you playing guitar have already faced this problem.
So, based on this, in this article, I will the ways of fixing fret sprout and mention much other significant information regarding this topic. You should always know, that if there is a problem, there is also a solution for it you only need to know how to do it.
Key Takeaways
- Playing guitar is a pleasure, and I love doing this activity a lot since it gives me another level of happiness.
- Fret sprout is a common issue that might happen, and I am sure that many guitar artists have faced it many times.
- The way to fix this problem is straightforward; you only need to follow some crucial steps and get the job done.
- You will need some specific tools in order to be able to fix the fret sprout, such as a fret leveler, fret end dressing file, painter’s tape, and finer grit sandpaper.
- Weather and humidity are two of the most common reasons that lead to fret sprout.
Table of Contents
Fret Sprout – What Does It Mean?

I am sure that most of you who reading this article know the meaning of this term, yet considering those that are new to playing guitar, I want to explain what fret sprout means so they can understand the purpose of this article better.
First and foremost, when playing guitar, one of the most crucial things that you must know is that your hands should run smoothly through the frets if you want to get a better sound. Your fingers must run smoothly along the fretboard so you can provide the sound that you desire.
However, some issues might occur, and you might notice that you are not able to move your fingers smoothly and freely along the fret, which indicates a fret sprout.
Basically, it is a situation where the fret ends stick out from both ends, and due to this, playing the guitar might be challenging and annoying so you won’t be able to perform the way you want.
Whenever you touch the fretboard, you should have a smooth touch; otherwise, it means that there is a fret sprout, so detecting this issue is straightforward; even a beginner can easily understand it.
However, it is a frequent condition; so there is nothing to worry about. What you should do is very simple; you only need to find ways to fix it and continue playing guitar the best way you can.
Also Read: How Long Does a Guitar Fret Last
Ways To Fix Fret Sprout

If you are dealing with this issue and you are not able to get the best sound possible, then it means you have to do something to fix the fret sprout. I want to point out that fixing fret sprout is simple and you don’t have to put so much effort into it, you only need some tools and get the job done!
Get the Tools and Cover the Fretboard
Firstly, you will need some specific tools if you want to fix the fret sprout, yet I guess that most of you have those tools since you already are a guitar player. The most important tools, in this case, are a fret leveler, a fret end dressing file, painter’s tape, and finer grit sandpaper.
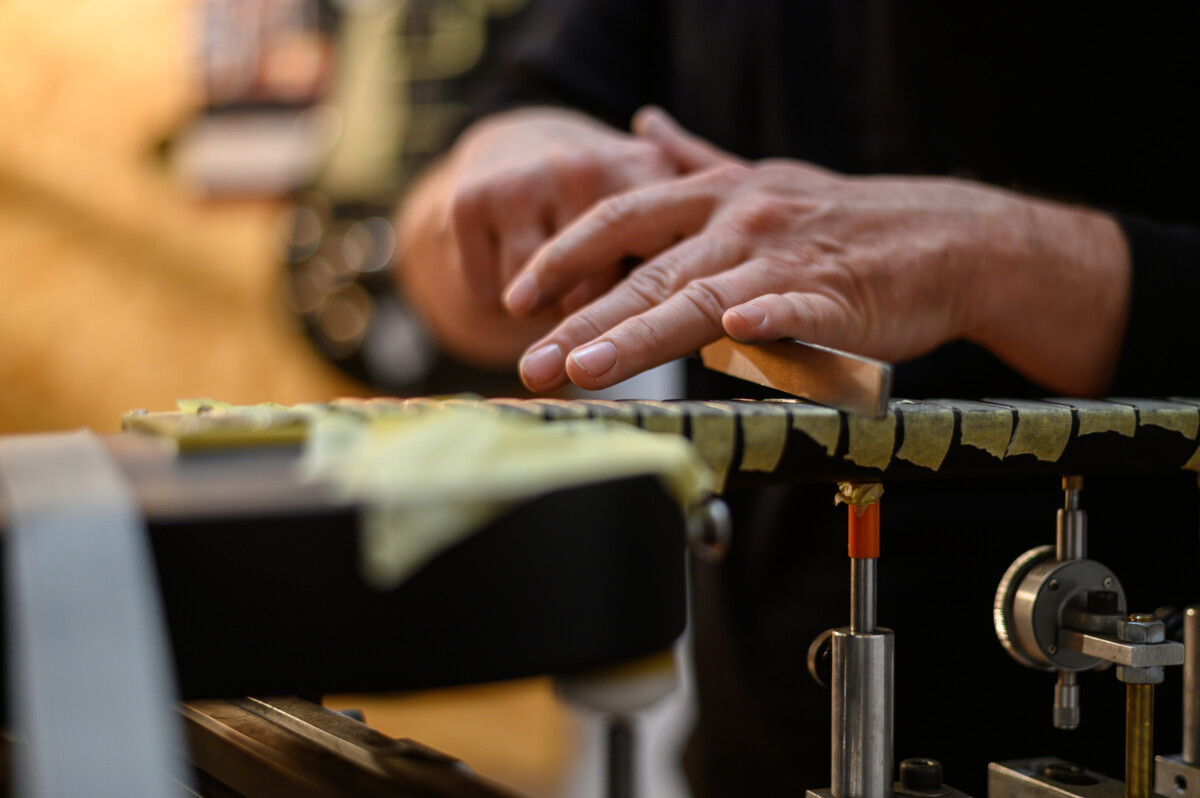
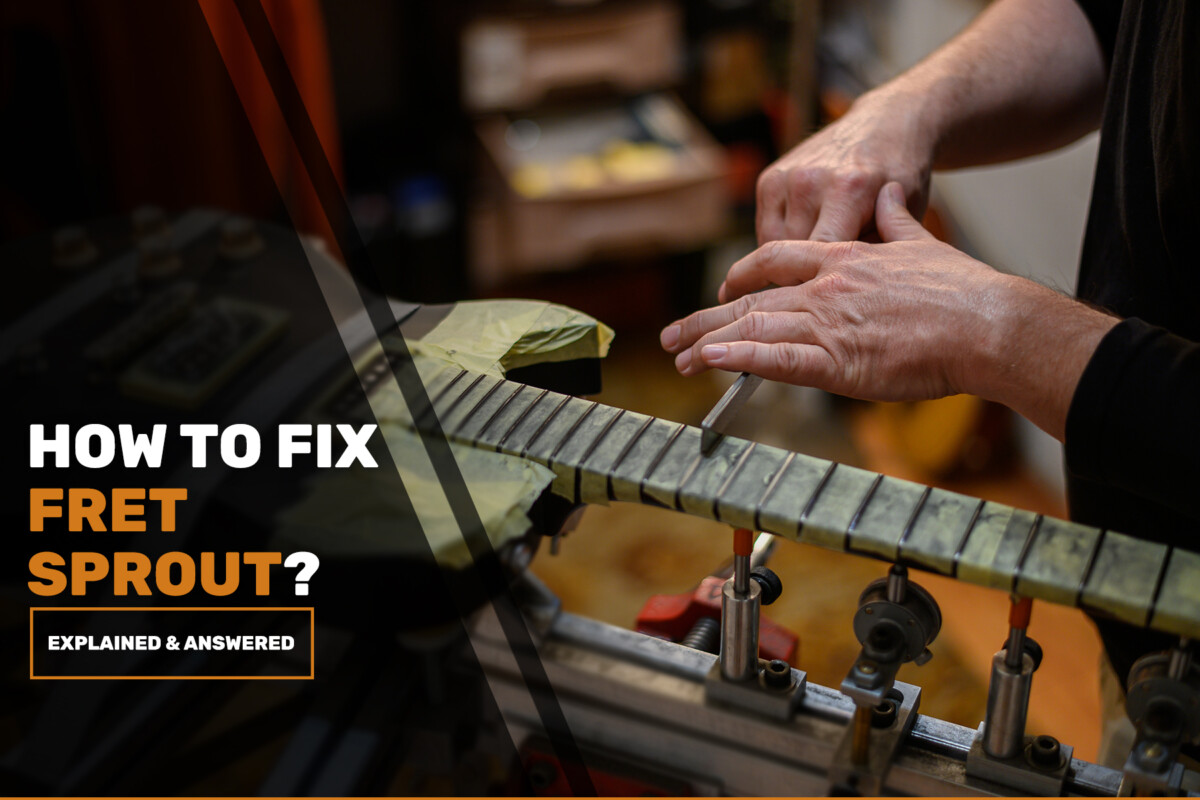
Gather all the tools and then remove the guitar strings; once you do so, start covering the areas around the frets with painter’s tape. This is the first step, and it is just a breeze. Now let’s continue to the second step!
Level Out and Fill The Fret Ends
Moving on! Now, you will need to use the fret leveler and try to do some up-and-down movements along the frets.
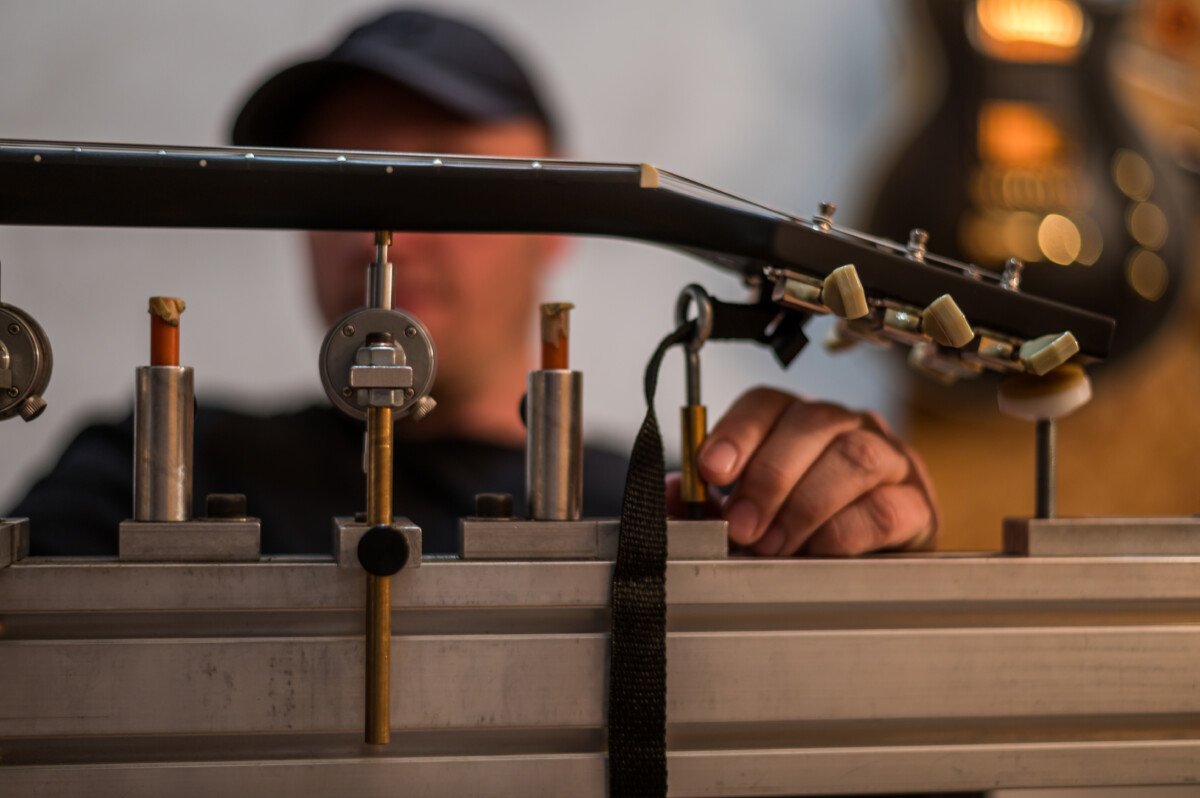
What I want to point out is that you should put much effort, yet do not do it too roughly and try not to damage the frets. Another important thing here is that you have to ensure that you are supporting the neck greatly.
Based on my experiences, I would say that the force you apply should be in the right amount since I have faced this issue many times, and there were some cases where I was not able to get the job done properly due to this.
As you finish leveling up, the next step is when you need to fill the fret ends by using a fret-end dress file. By doing so, you will smooth the sharp ends of the frets, which is necessary in this case.
Smooth, Polish, and Clean The Frets
As you have already done the other steps, now we can move on to the last one where you only have to smooth, polish, and clean the frets. What you have to use in this case, and what I prefer most of the time when I do this process is sandpaper.
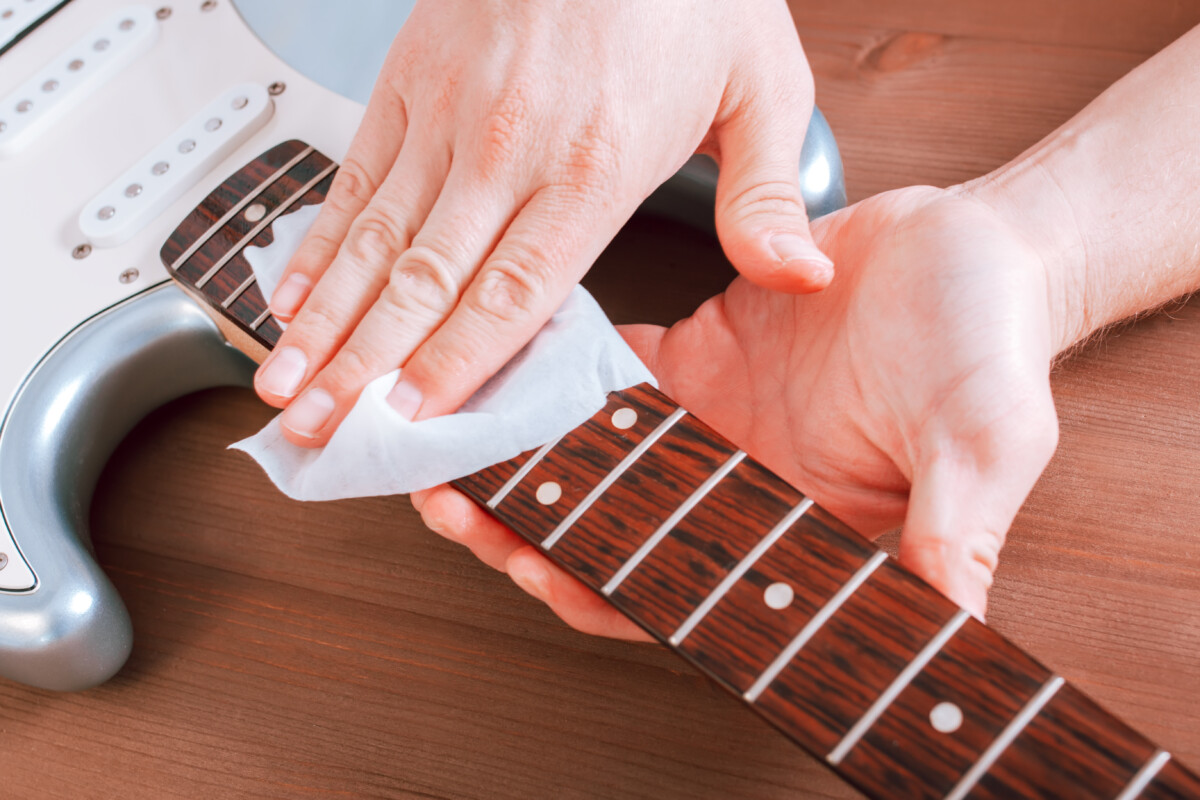
It will provide mesmerizing results, and after smoothing and polishing the frets, use a towel to clean them and then remove the painter’s tape. This is all!
Also Read: Finest Guitar Humidifiers For Keeping Your Guitar Safe
Reasons That Cause Fret Sprout

If you are thinking about why this might happen, then I want to say that many reasons might lead to this issue. Weather is one of the most common reasons that cause fret sprout.
As you already know, fretboards are made of wood, and warm or dry weather will result in fret sprouts. Apart from that, humidity is also another factor that harms the fretboard.
Basically, you have to keep your guitars where the humidity levels are at optimum. I always try to give the maintenance that my guitar requires so I can avoid this kind of issue, so I recommend it to you as well.
What I have heard from many of my friends is that also transport conditions and fret dressing cause fret sprouts, yet this is not something I have experienced, to be honest.
Also Read: The Finest Guitar Strings For Beginners
Final Words
As you have read this article, now you know how to detect the fret spout, and you know how to fix it. It is not such a big issue, yet you have to consider it if you want to be able to play the guitar in a better way and without having to deal with those sharp edges.
What you have to pay attention to is the maintenance of your guitar and the reasons that might cause fret sprout. This was all; I hope you liked this article and it was helpful to you!

