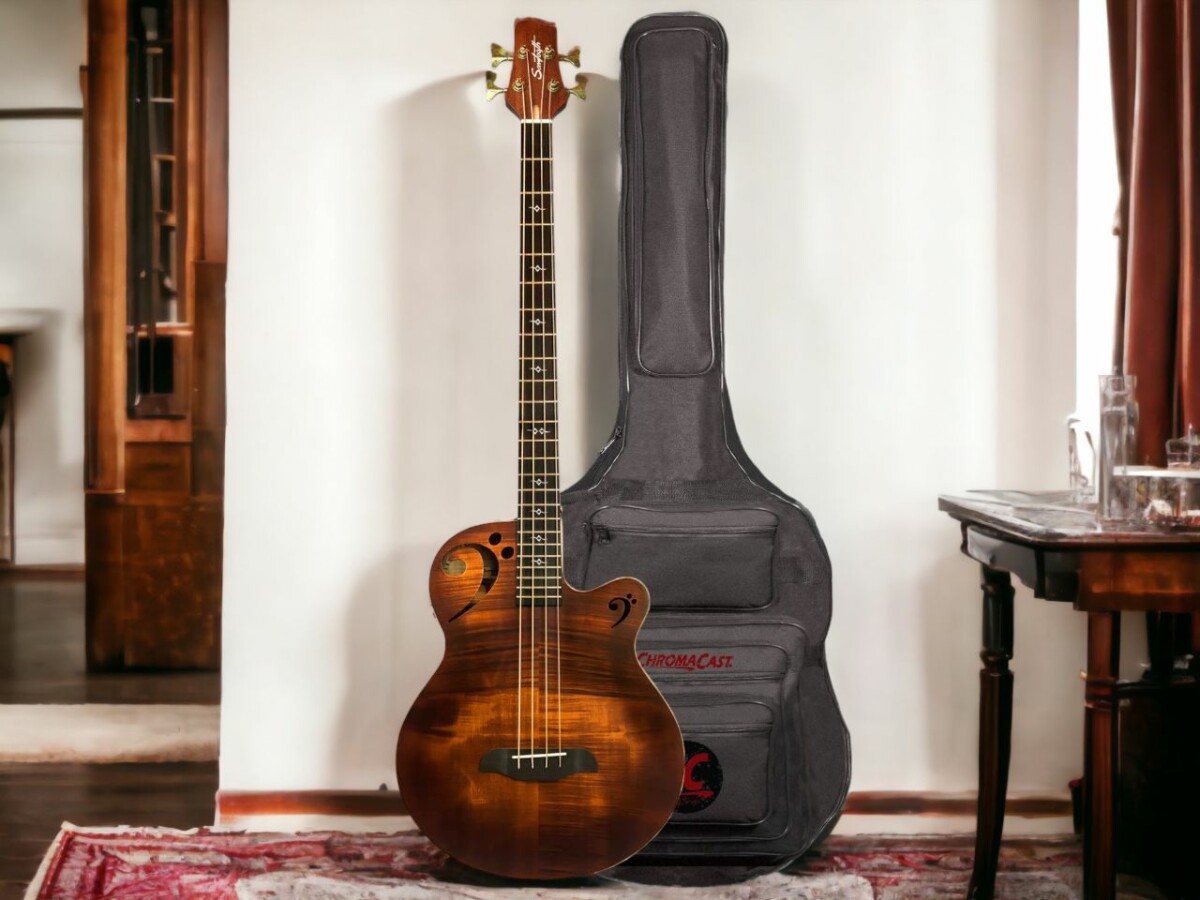
So, you’re not just jamming on your bass, you’re also a creative soul, right?
Your bass guitar is more than just a tool for making music, it’s a blank canvas waiting for your artistic touch.
Wondering if you can paint it? Heck yeah! But, let me tell you, it’s not going to be a walk in the park. You’ll need a steady hand, a sharp mind, and loads of patience.
It’s like a dance between aesthetic and function, where every move, from picking the right paint to the nitty-gritty of sanding, plays a critical role.
So, let’s unpack the ins and outs of painting your bass, making sure it’s not only a feast for the eyes, but also keeps rocking out those sweet tunes.
Complexity of Custom Painting a Bass Guitar

You’ll soon come to see that transforming your bass guitar isn’t as easy as just chucking on a layer of paint. It’s a whole intricate ordeal that’s going to need you to put in the hours, be meticulous, and have patience. Let’s deep-dive into the usual pitfalls you’d want to steer clear of when giving your bass guitar a fresh coat.
First up, never be in a hurry. Being hasty usually ends up in a less-than-stellar final product.
Next, don’t even think about cutting corners when it comes to the preliminaries. The steps of sanding and priming are crucial if you’re aiming for that pro-level finish. Keep clear of painting the neck, especially the fretboard, ’cause it could mess up how the guitar plays.
And when it comes to paint, be picky. Go for something like automotive-grade or paint specifically made for instruments.
Lastly, remember the age-old mantra – practice makes perfect. Try out your painting skills on a less prized instrument first. At the end of the day, your love for music should shine through your work. Speaking of quality instruments, you might be wondering, are Epiphone bass guitars good? Dive into this guide to find out.
The Risks and Precautions of Painting a Bass Guitar
So you’re thinking about giving your bass guitar a fresh coat of paint? That’s rad! But hold up, before you dive right into it, it’s pretty important to be clued up on the potential hazards and the necessary steps to avoid turning your beloved bass into a hot mess. It’s not just about slapping on some paint and calling it a day; it’s a process that demands careful attention to detail. If you rush it or cut corners, you risk messing up your bass.
Here’s the lowdown on what you need to bear in mind:
- Don’t wreck the body: The sanding and painting process can be risky business if you’re not careful. Make sure to use the right tools and don’t rush it.
- Keep it playable: Steer clear of painting your bass’s neck or fretboard. You don’t want to mess with how it plays or feels when you’re jamming out.
- Pick your paint wisely: Opt for a high-quality paint that’s suitable for instruments. Trust me, it makes a world of difference in how your bass looks and how long it lasts.
At the end of the day, what’s driving you to personalize your bass is your love for music. So take these precautions to heart to make sure your bass stays in tip-top shape, ready to rock, and looking pretty damn awesome. If you’re considering getting a new bass, it’s worth checking out reviews, like this one on whether Fender bass guitars are any good.
Preparations: Stripping and Sanding a Bass for Painting
Getting your bass ready for a fresh lick of paint isn’t just about hard work, it’s about the thrill of transformation. It’s a task that calls for patience and the right gear.
Start off by clearing away the old paint. This isn’t your regular paint job, so you’ll need a good chemical wood stripper. Make sure you spread it evenly over your bass, and let it do its thing for the duration recommended by the brand. Then, it’s time to take off the stripper and the now-softened paint.
Once you’ve got that step down, it’s time for the real fun: sanding. Kick things off with a low grit sandpaper, something around 120 should do it. This will help you get rid of the stubborn paint and primer that’s still hanging around. Gradually, you’ll need to switch to a higher grit, say about 220. This will help you achieve that smooth, ready-for-paint surface. If you’re thinking of picking up the bass later in life, know that it’s never too late. Discover how you can learn bass guitar even at 50.
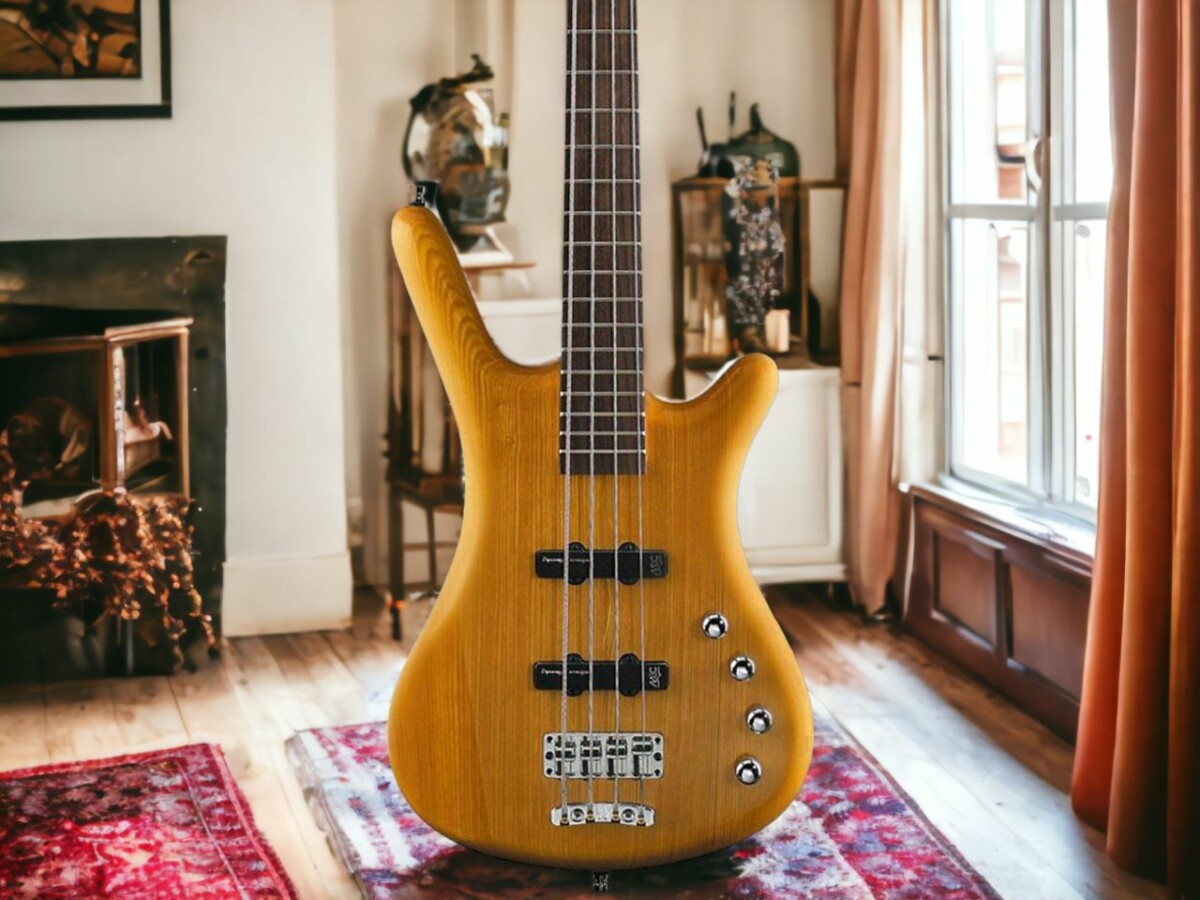
Choosing the Right Paint for Your Bass Guitar
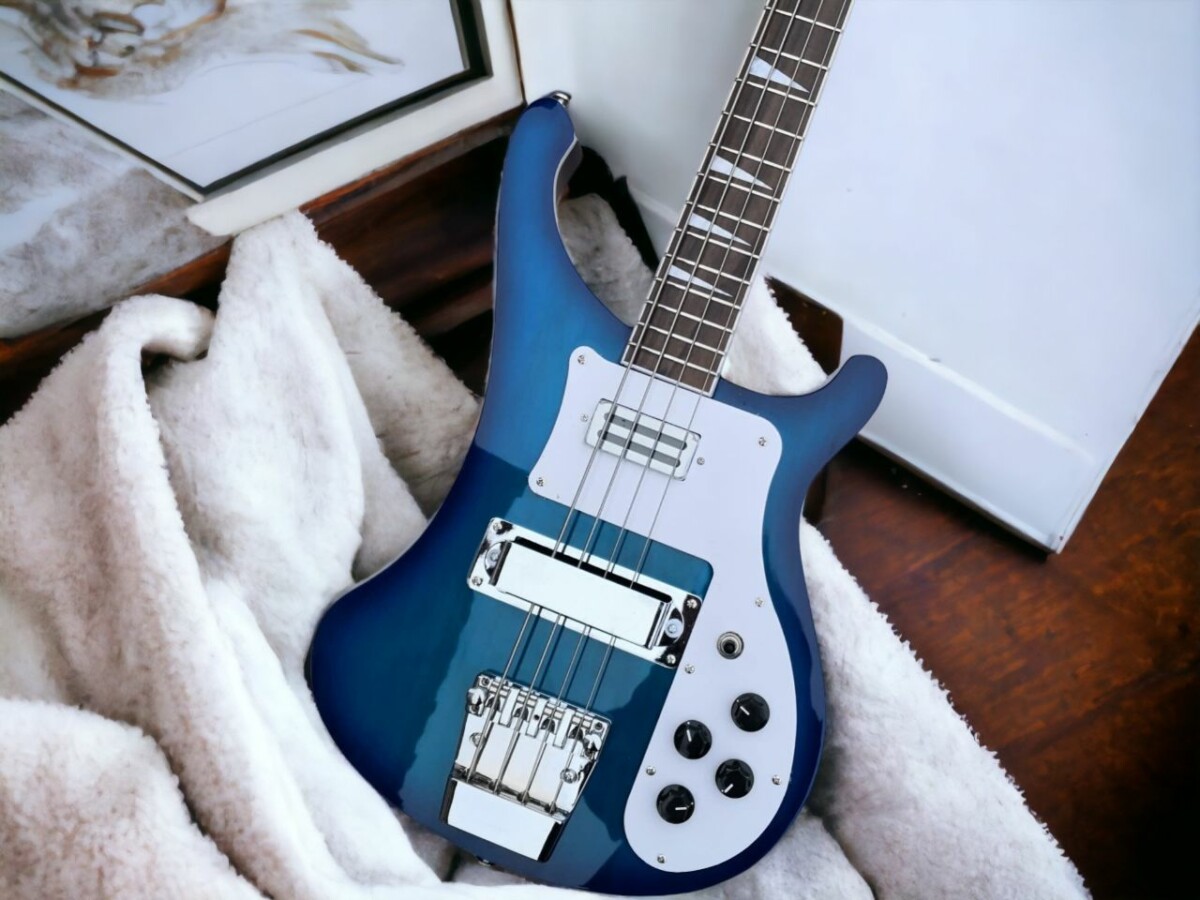
Choosing the perfect paint hue for your bass guitar isn’t the only hurdle you’re gonna have to leap. You also need to figure out what kind of paint to use – like, do you go for the automotive-grade or the instrument-grade? This choice is super important if you’re after a pro-level, long-lasting finish for your instrument.
- Getting the right paint finish: Glossy, satin, matte – each one’s got its own unique vibe and can totally transform how your guitar looks. If you want something that’s gonna shine and reflect light, go for glossy. But if you’re more about that understated, on-trend look, matte’s the way to go.
- Automotive or instrument-grade paint: These options are sturdy and can give you a super smooth finish, but bear in mind they’re also toxic. So, don’t be a fool – make sure you take the right safety measures.
- Advice for painting detailed designs: If you’re planning on getting all fancy with your design, then stencils or painter’s tape is a must for precision. And remember, this isn’t a race – take your time to get a clean, neat finish.
Techniques to Perfect Your Painting Process

So, you’ve already picked the perfect paint for your bass guitar, right? Now, let’s dive into some essential techniques to make sure your painting project is a total hit.
First off, let’s talk about color – it’s gotta be something that totally vibes with your style and the kind of music you play.
Then, it’s time to get that guitar ready for its makeover. You’ll want to use a solid chemical wood stripper and some fine-grit sandpaper to make sure the surface is super smooth and ready for the paint. Speaking of paint, go for an automotive-grade or a paint that’s designed specifically for instruments.
And here’s the part where you gotta show some patience – applying the paint. For a professional look, go with a spray gun and make sure to apply it evenly. A rush job here could mean a less than stellar result.
Once you’ve got the paint on, it’s time for that final touch – a clear coat for a glossy finish. Remember, the key to nailing this is practice. Take your time, and soon you’ll be the proud owner of a stunningly painted bass guitar.
Sounds pretty cool, right?